Parrot ANAFI Retrofit Kit

What's in the box
The Parrot ANAFI Retrofit-kit allows your ANAFI drone to automatically charge its battery by landing on the Skycharge Charging Pad. The Retrofit-Kit comes in either the indoor or the outdoor model depending on your charging pad model. The main difference between the indoor and the outdoor model is the contact shape and position.
To install the retrofit-kit you should follow the below procedure.
1. Attach the velcro fastener
Install the adhesive velcro fastener on the back of the battery, as shown in Figure 1. The Velcro must be attached to the backside of the battery and not to the drone body allowing the battery to be removed without damaging the velcro fastener.
Figure 1 - Velcro strip installed on the battery
2. Install the Retrofit-Kit CAPE
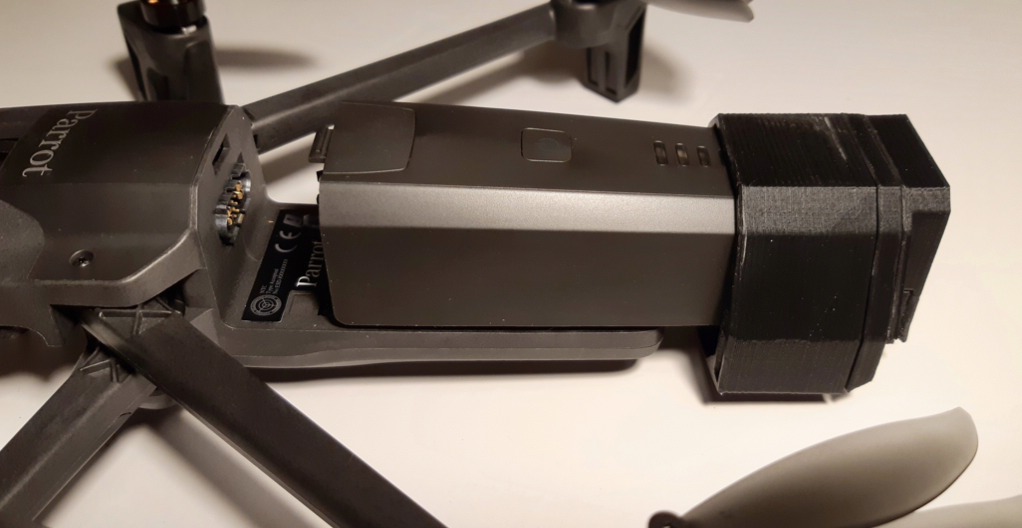
Remove the battery from the drone and connect the retrofit-kit CAPE for Parrot ANAFI by plugging the retrofit-kit USB-C connector into the battery USB-C connector as shown in Figure 2.
Figure 2 - Side view of the installed retrofit-kit
3. Install the drone battery as usual
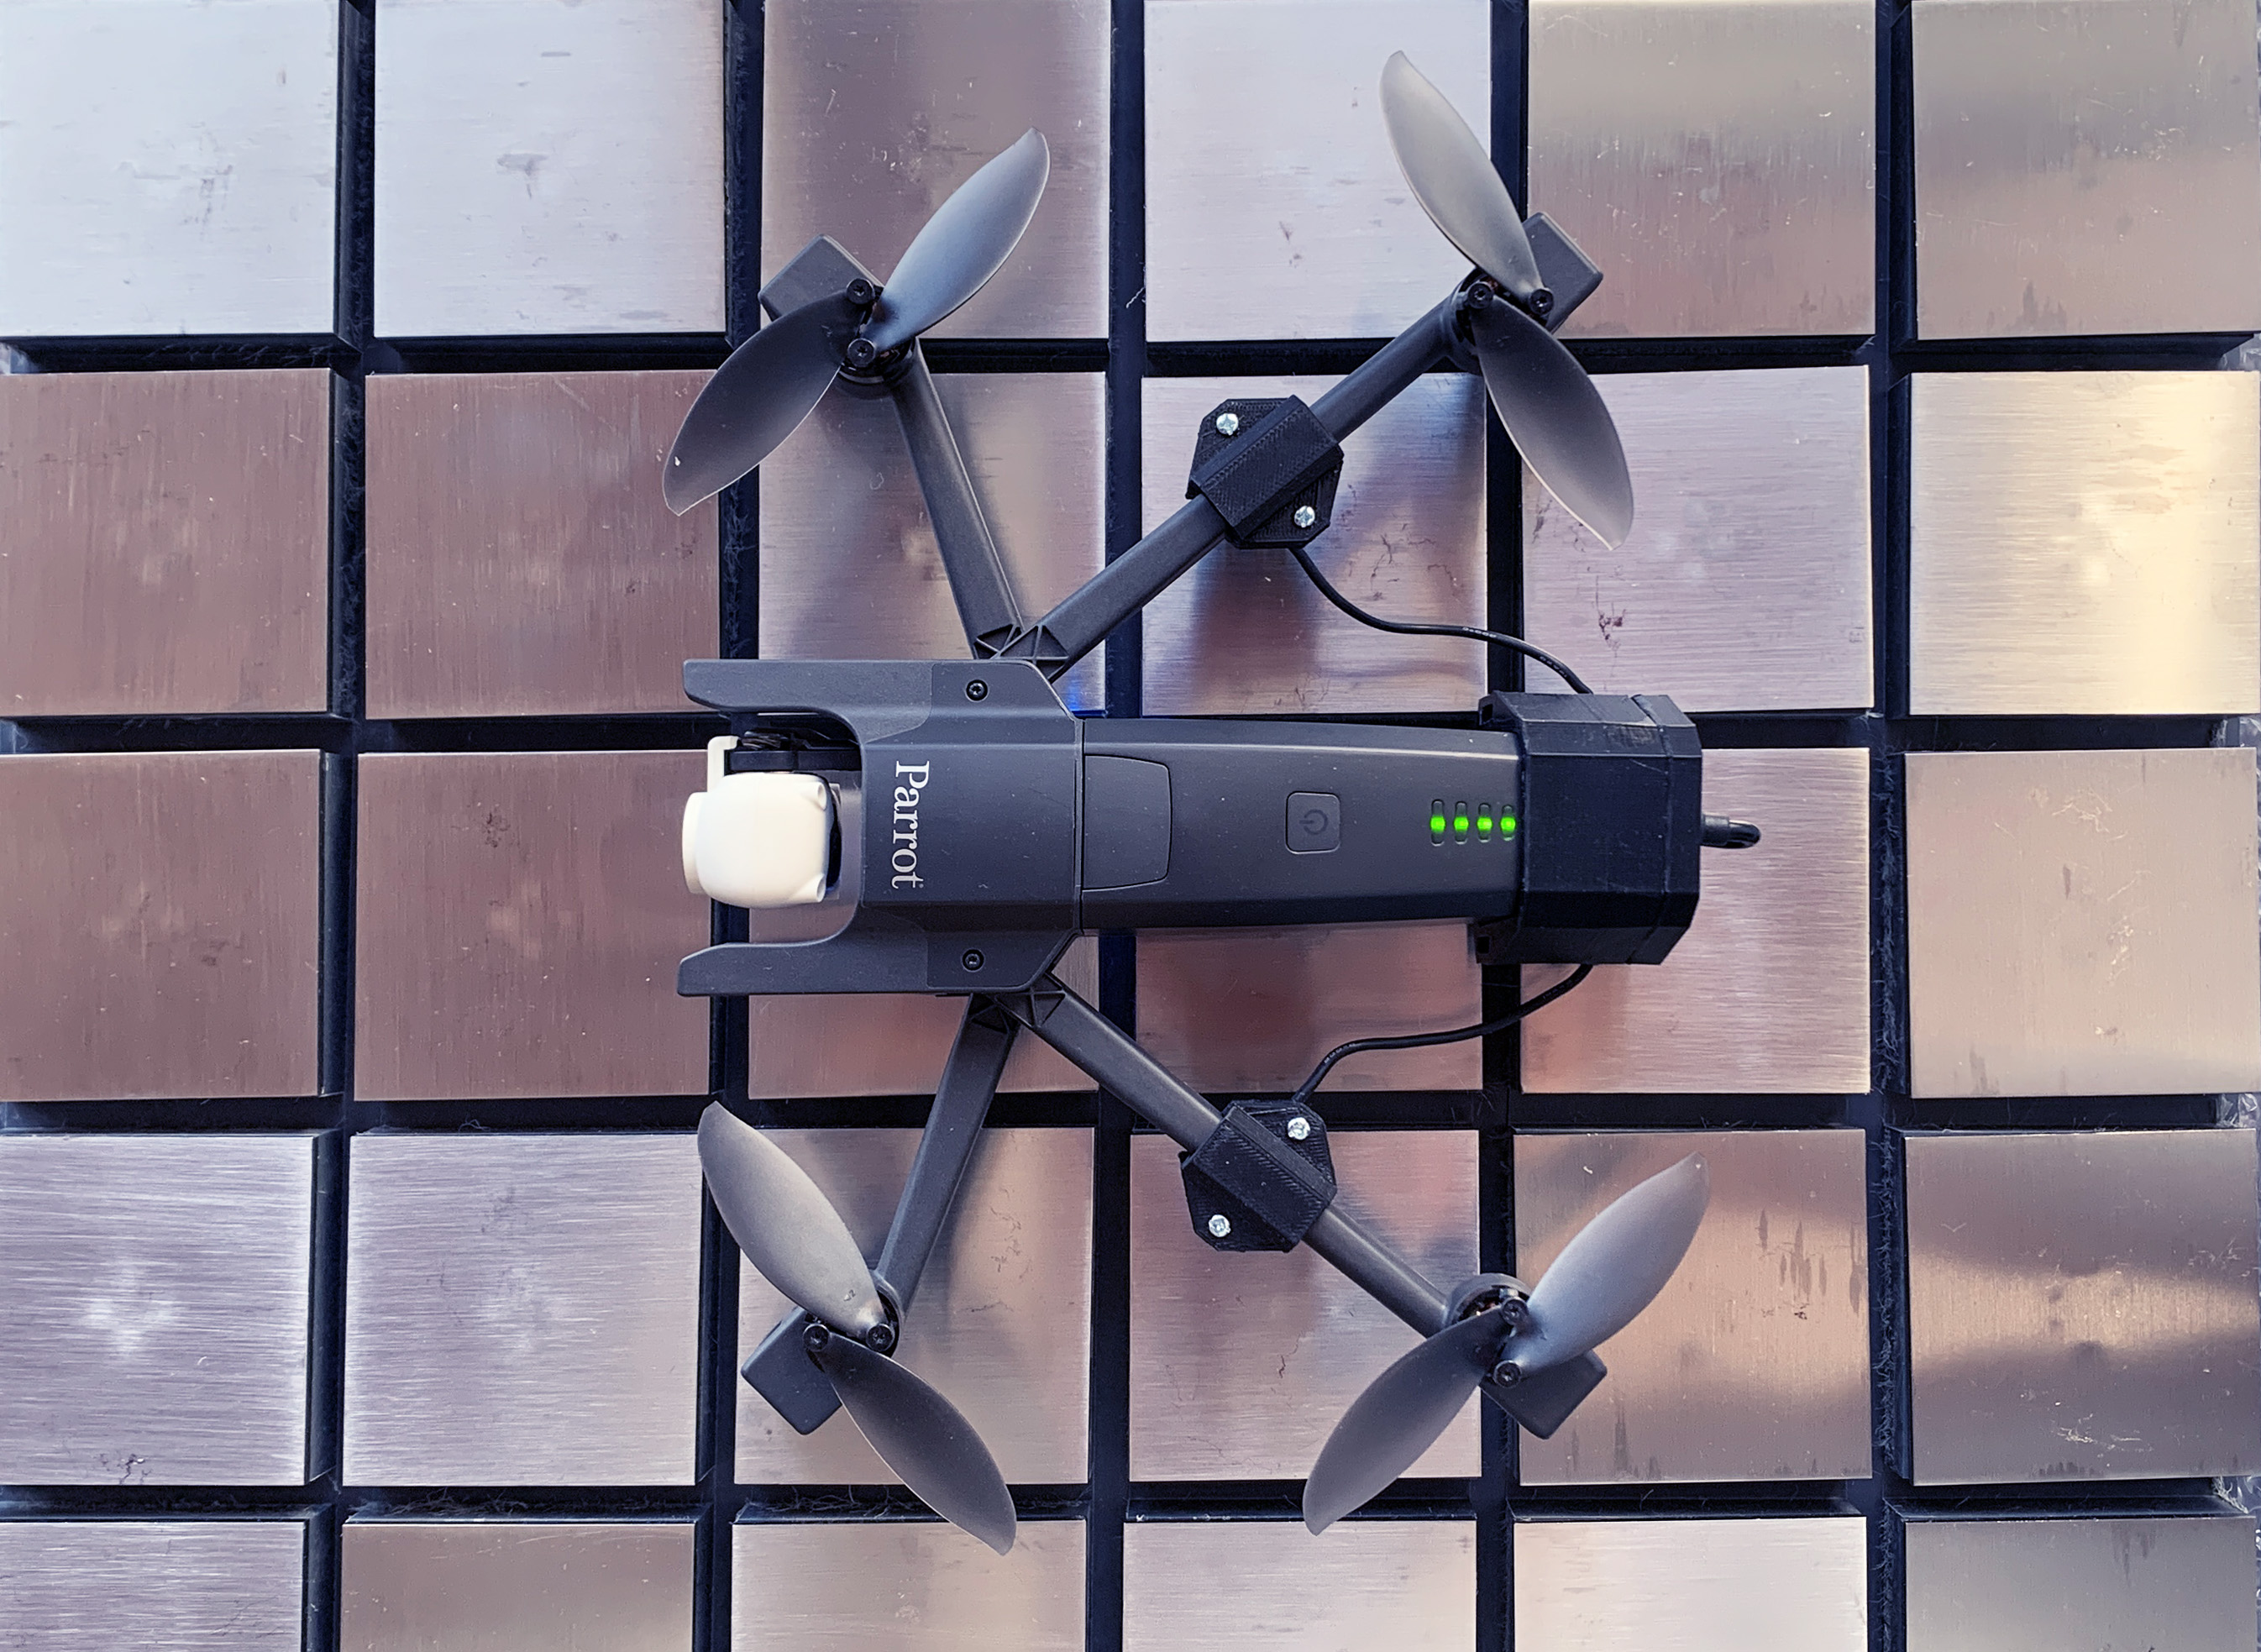
Install the ANAFI battery with the Skycharge retrofit-kit CAPE on the drone, as shown in Figure 3 below.

Figure 3 - Retrofit-kit installation
4. Fix the contact-blocks to the aircraft arms
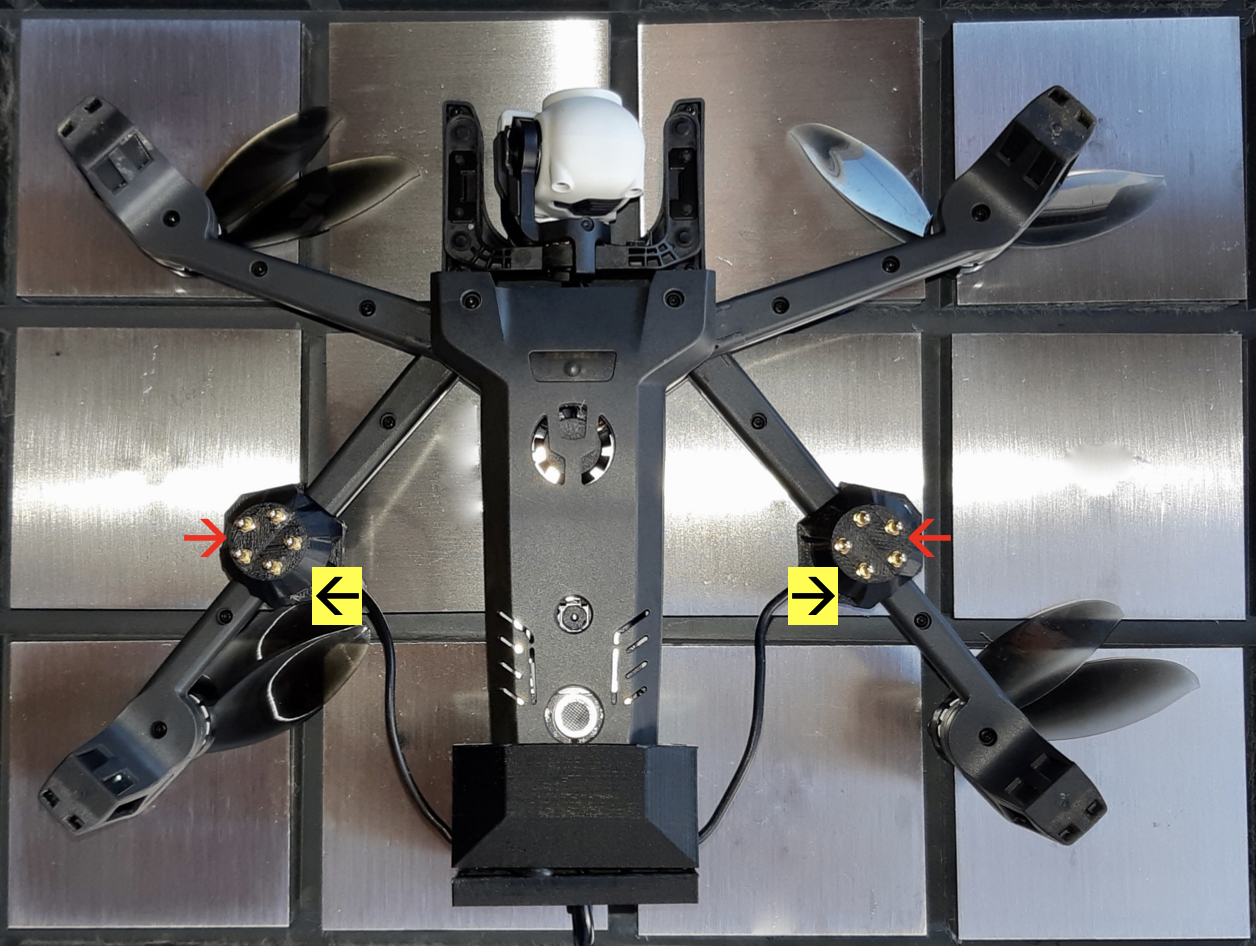
The outdoor kit spring contacts must be installed on the rear drone arms at a specific distance described in Figure 4 below:
- Minimum internal distance between the contacts is 115 mm (black arrows)
- Maximum external distance between the two contacts is 168 mm (red arrows)

Figure 4 - Fixing the contact blocks at the right distance
Updated about 1 year ago
