Conductive tiles installation
Introduction
Conductive tiles is a simple contact solution engineered to enable any commercial drone and any mobile robot to dock and automatically charge. The solution accommodates for an alignment error of up to 80mm. This documentation section describes how to assemble and connect the conductive tiles to the Skycharge system.
System components
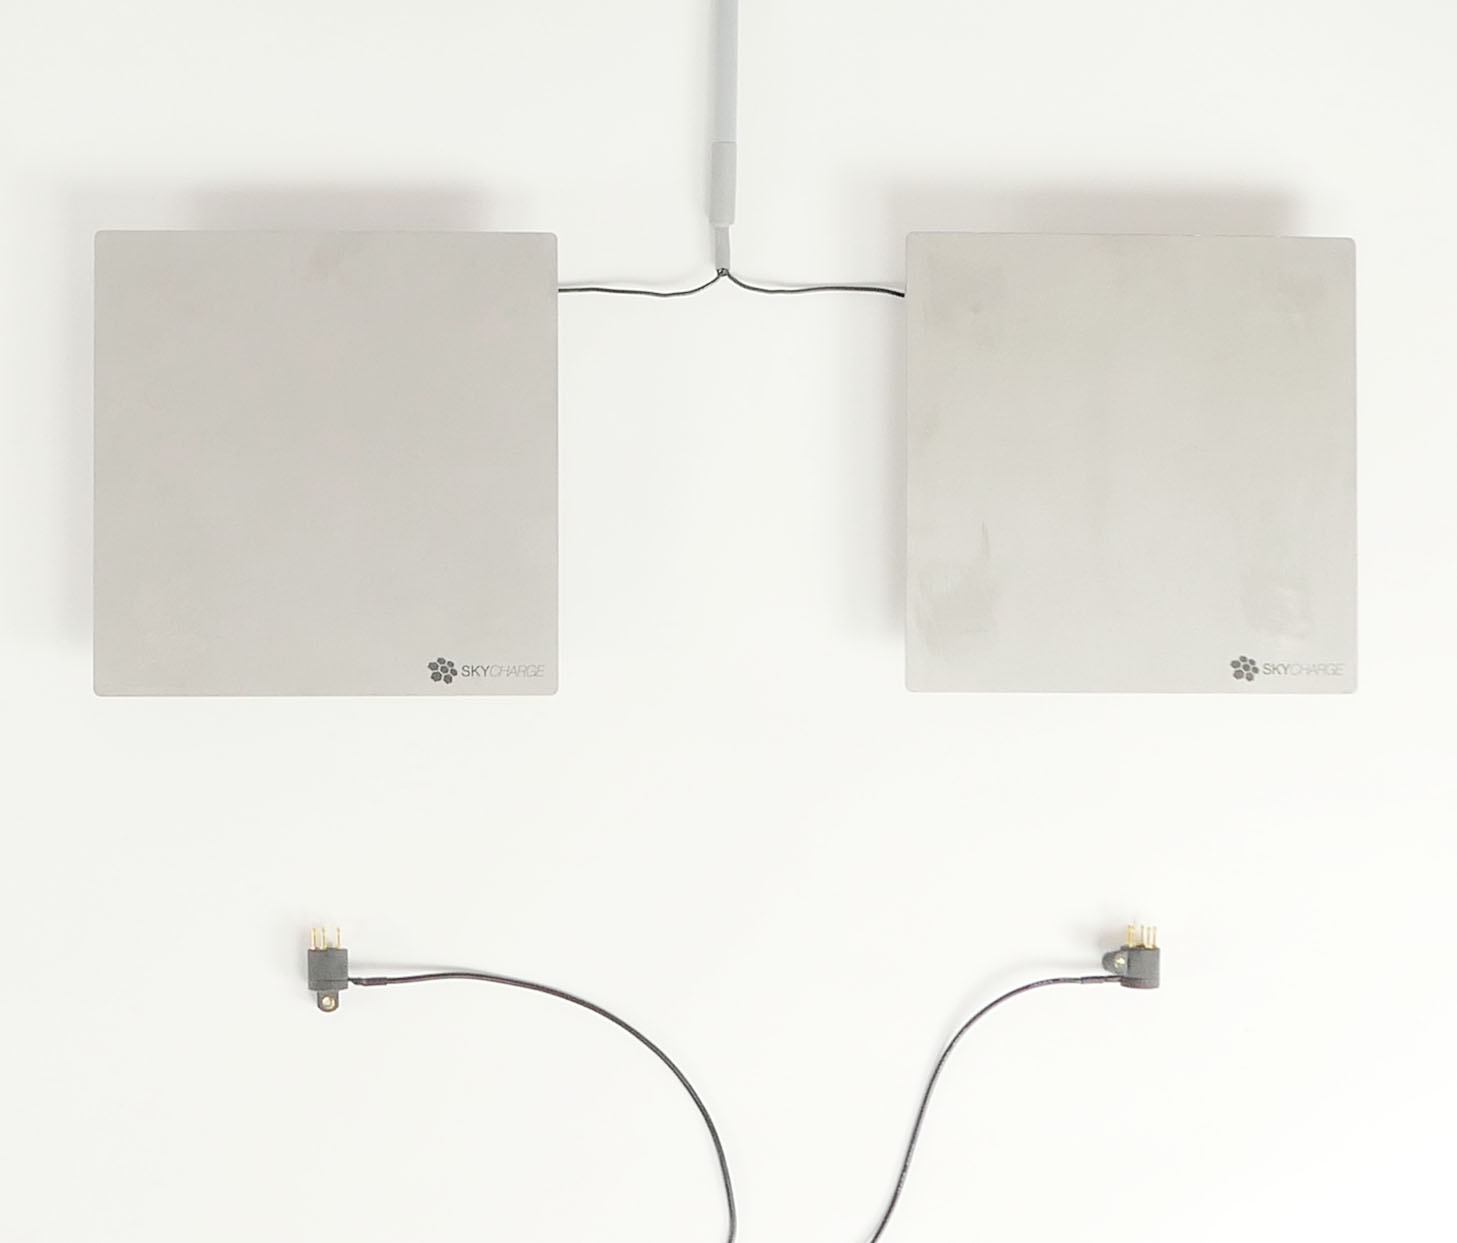
- two charging tiles;
- one multicore cable to connect the charging tiles to the charge source;
- one contact unit made of two contact blocks with spring-loaded contacts wired to one XT60 connector.

Figure 1 - Charging tiles and contact unit
Charging tiles installation
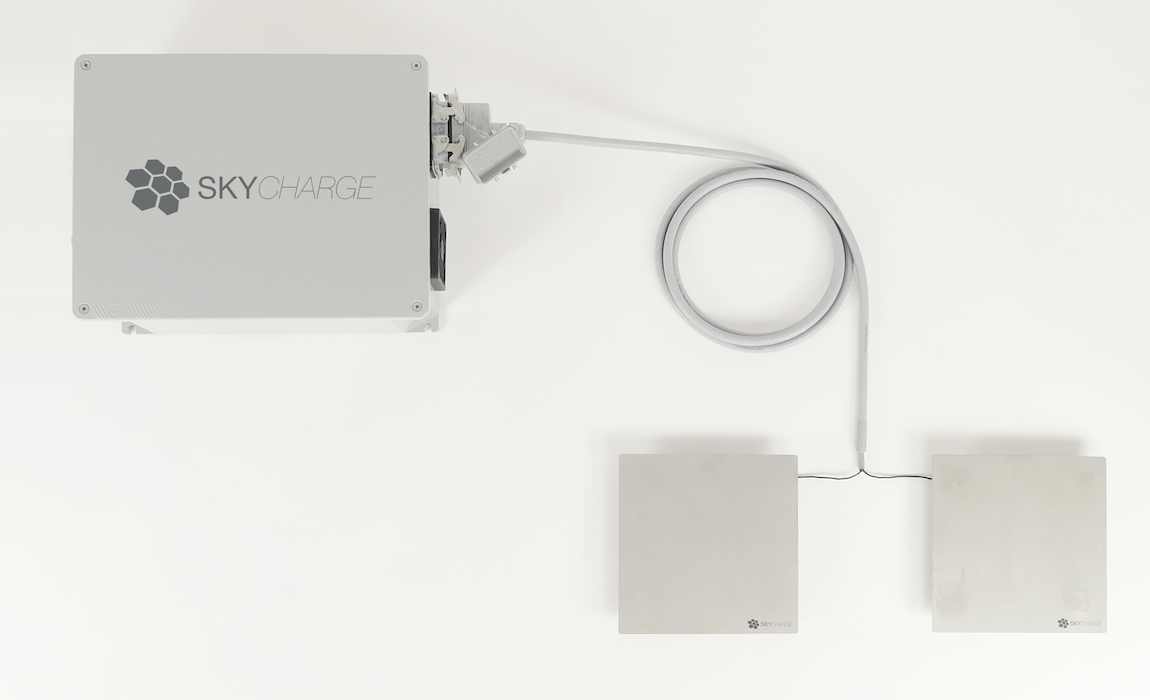
To connect the charging tiles to the Skycharge system, use the supplied multicore cable:
- On the backside of the charging tiles are located four screws; connect the two multicore cable wires to each charging tile, securing the connection with the supplied bolts;
- connect the other end of the multicore cable to the charge source after removing the protective cap.

Figure 2 - Charging tiles connected to charge source via multicore cable
Fixing the charging tilesThe supplied charging tiles can be easily fixed on any flat (horizontal or vertical) surface using the four screws located on their backside.
Contact unit installation
To install the contact unit, follow these steps:
- unpack the contact unit;
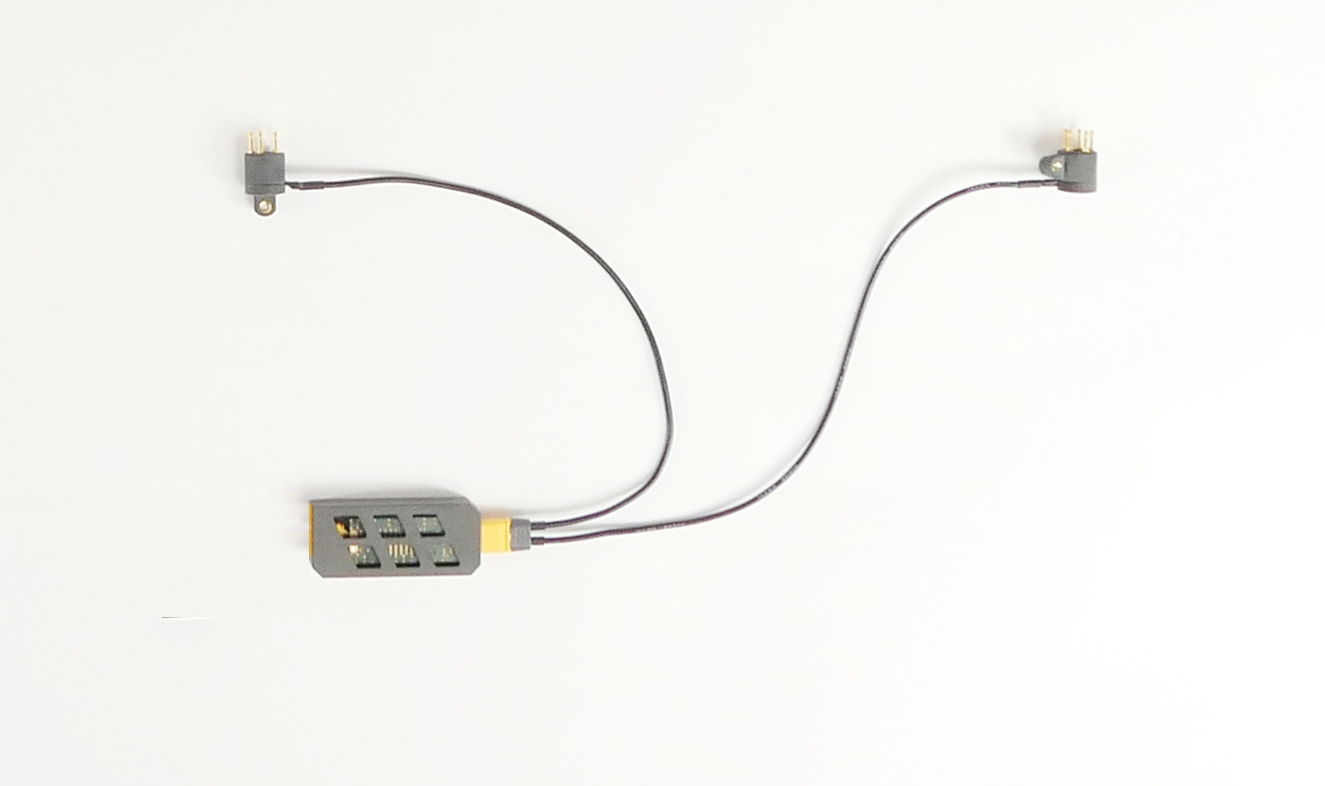
- connect the contact unit wire to the charge sink female XT60;
- firmly fix the contact unit to your drone/mobile robot by using the provided adjustable mount, or your own mount. Make sure that the contact block is positioned correctly.

Figure 3 – Contact unit connected to charge sink
Figure 4 – Contact unit fixed to the drone landing gear (DJI Mavic 2)
Congratulations
Now that you installed the Skycharge system and the contact solution, you can head over to the user's manual, which will guide you through how to power on the system and start operating it.
Updated about 1 year ago
